You can find the link to the StoryMaps site here: https://www.statesofbelonging.org/groups/. You’ll find the username for your group there. You do not need to and should not establish an account or your own user login for ArcGIS. Instead, your group will all share the same login.
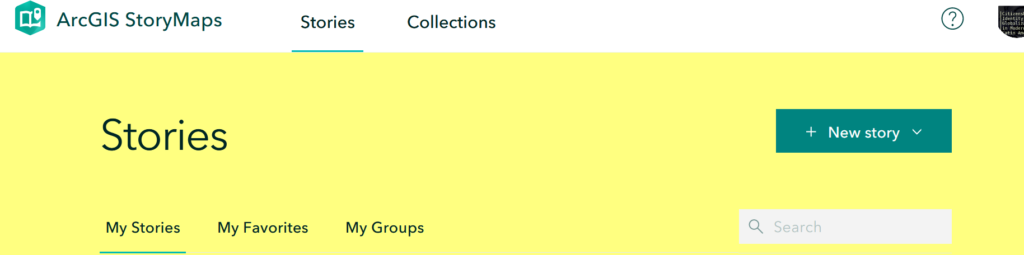
Once you log in, you’ll see whatever storymaps your group has already started and you can start your own by clicking “New Story.” This will give you a few options and you should choose “Start From Scratch.”
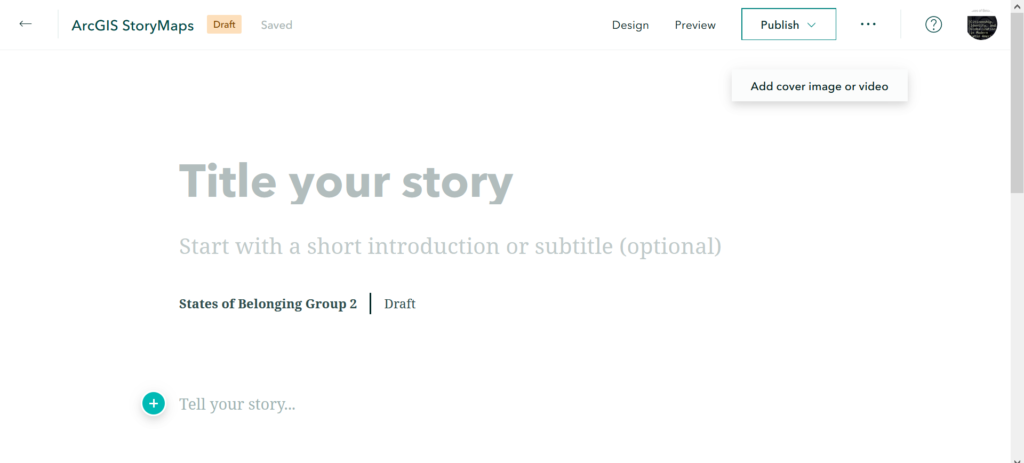
You’ll come to a page that looks like this. Enter your name as the title of your storymap. You can then add your snappy, witty title or intro underneath.
You can then begin to add the parts of the storymap by clicking on the “+”.
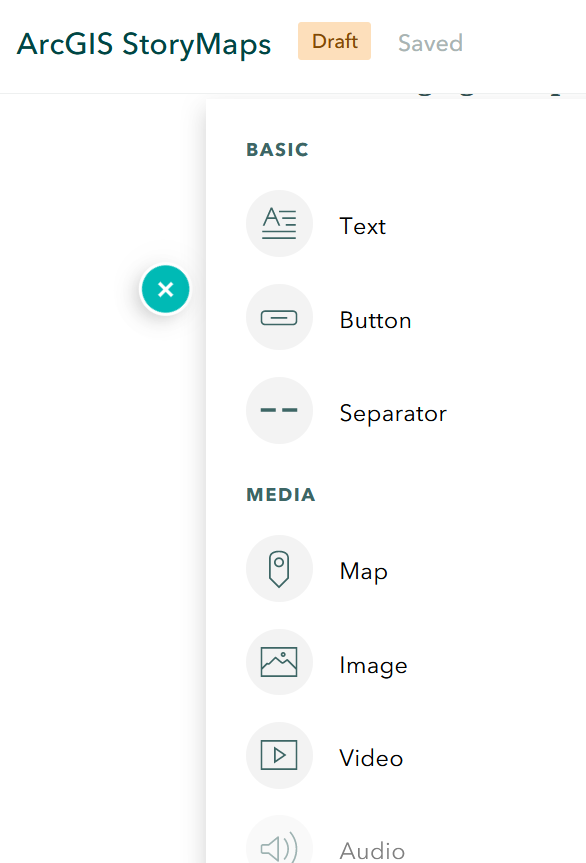
That will lead to a menu bar that looks like this. Most commonly you will use Text, Map, or Image. Text and Image are very straightforward. Adding a map is a little bit more complicated. See: Adding a Map.
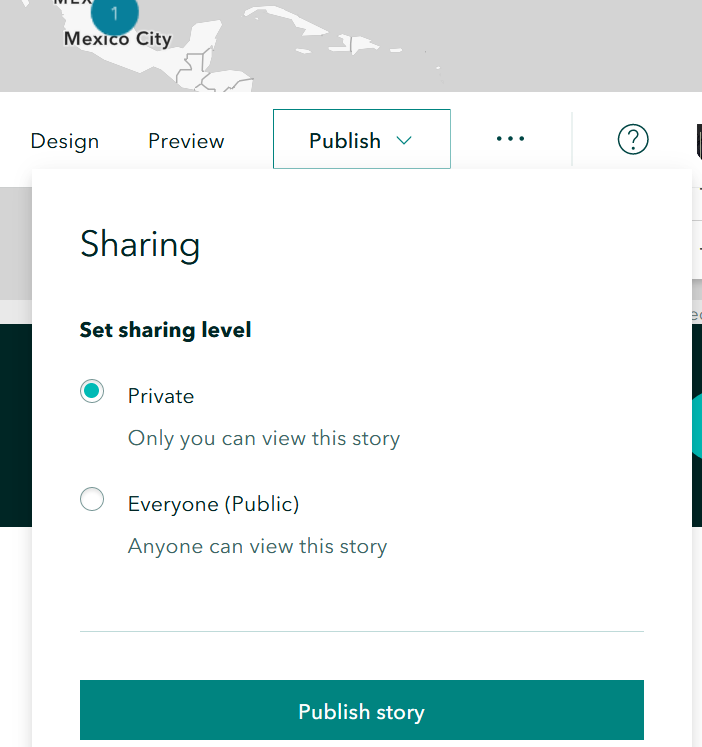
When you have finished the first entry on your storymap you can publish it by clicking “publish” in the upper right. This will give you two options, and you should choose “Private.” Only you, your groupmates, and I will be able to access your storymap.
Each time you make changes to your storymap, you will need to publish them again.